


144Artist Tries His Hand at Painting a Halfling Bust


Recommendations: 88
About the Project
I may have been painting miniatures for over fifty years, everything from scale train figures to wargaming and role playing minis, but I have never painted a humanoid bust. I did paint a dragon bust a couple years ago but really that was pretty much still a 25mm dragon head. With the latest Art of...books from Dave Taylor Minis came the option for a wonderful halfling bust from Bid Child Creatives which I had to pick up. This is way out of my comfort zone so it should be interesting seeing how I do. My goal is to have this fellow finished b the end of May to be entered in the 2025 KublaCon Painting Exhibition. Thumbs pressed, as my German friends say.
Related Company: Big Child Creatives
Related Genre: Fantasy
This Project is Active
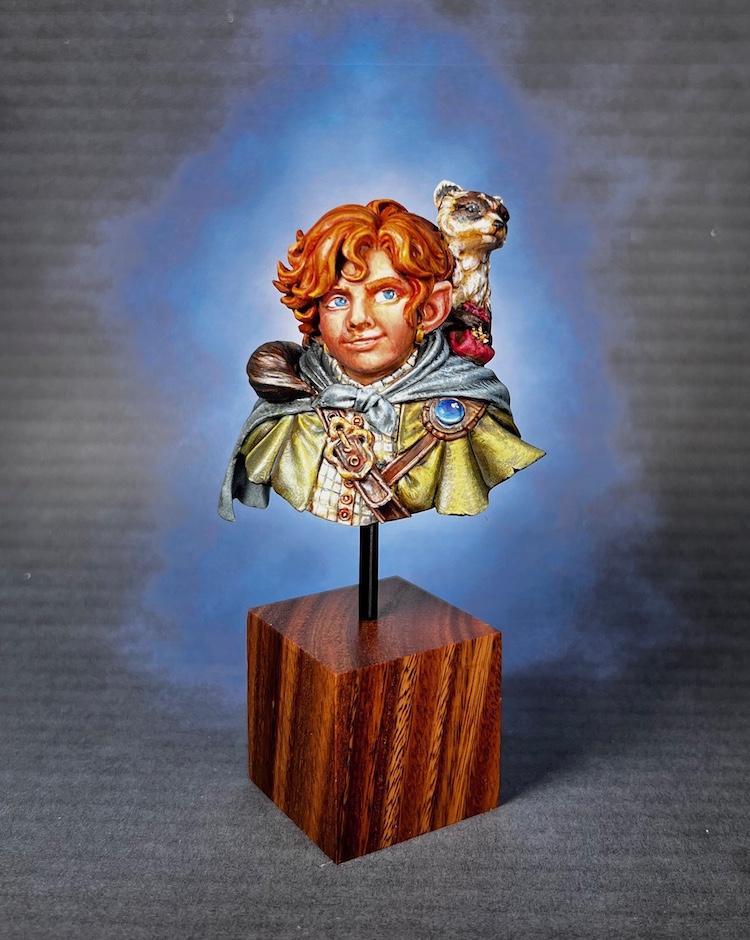
And Now He's Got a Base
I got the bottom glued onto the figure after packing a lump of green stuff into the top of the head. That was to hold the brass rod in place that would attach to the wooden plinth. I added a thick tube around the rod to add thickness and drilled a hole in the plinth. After the glue had dries I painted the base and rod black. Once that had dried I glued him in place.
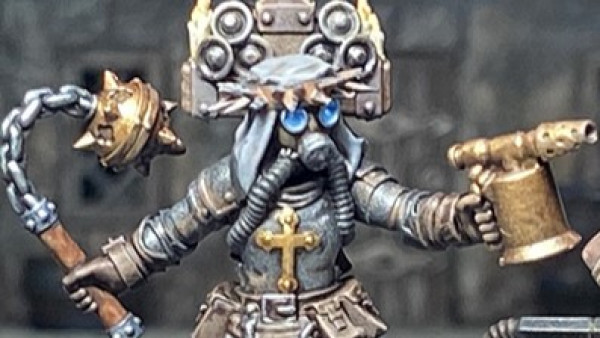
I must admit, I’m rather pleased with how he has come out. As I stated in the beginning, out of my comfort zone but I learned a great deal. I believe he is one of the best pieces I have done to date and look forward to showing him next week at KublaCon’s Painting Exhibition.


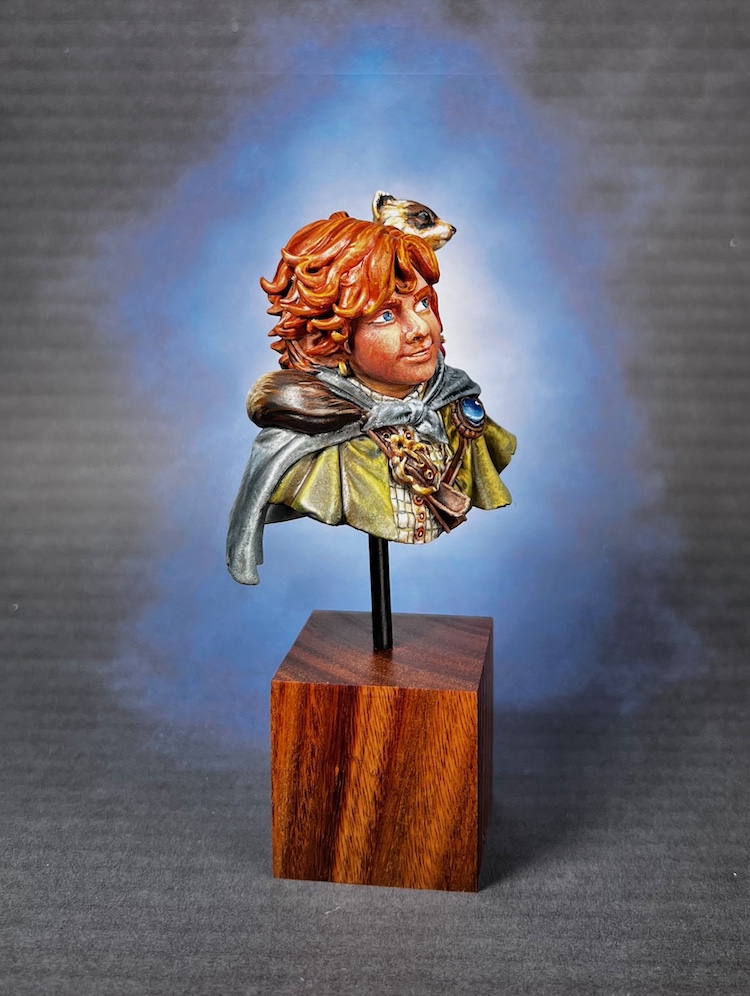


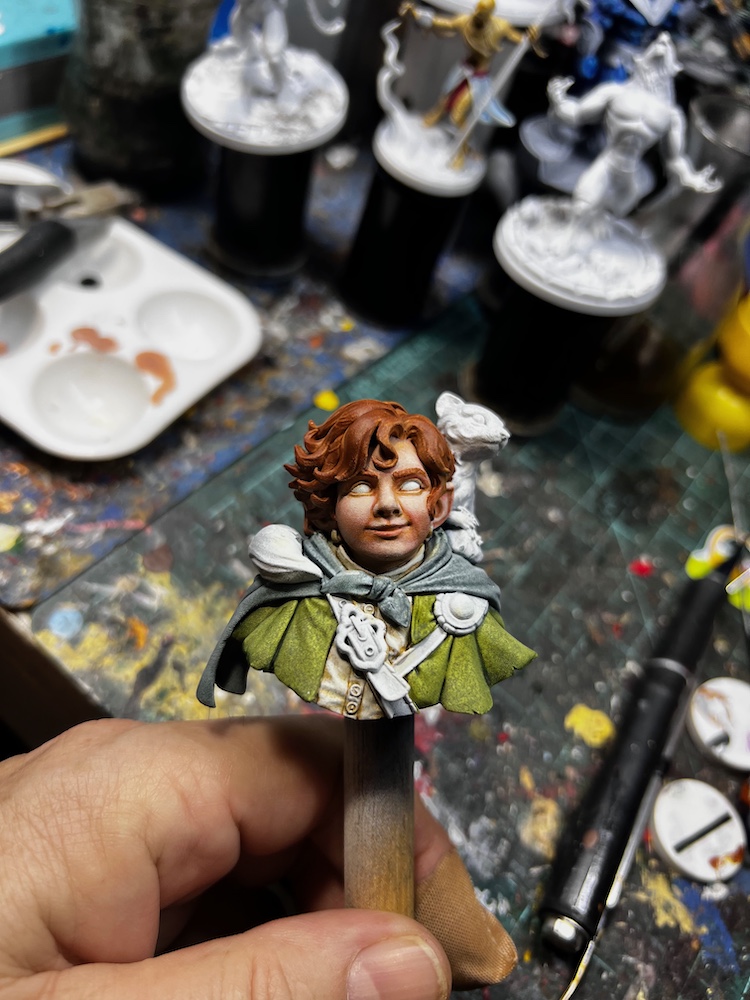
Sealant Time
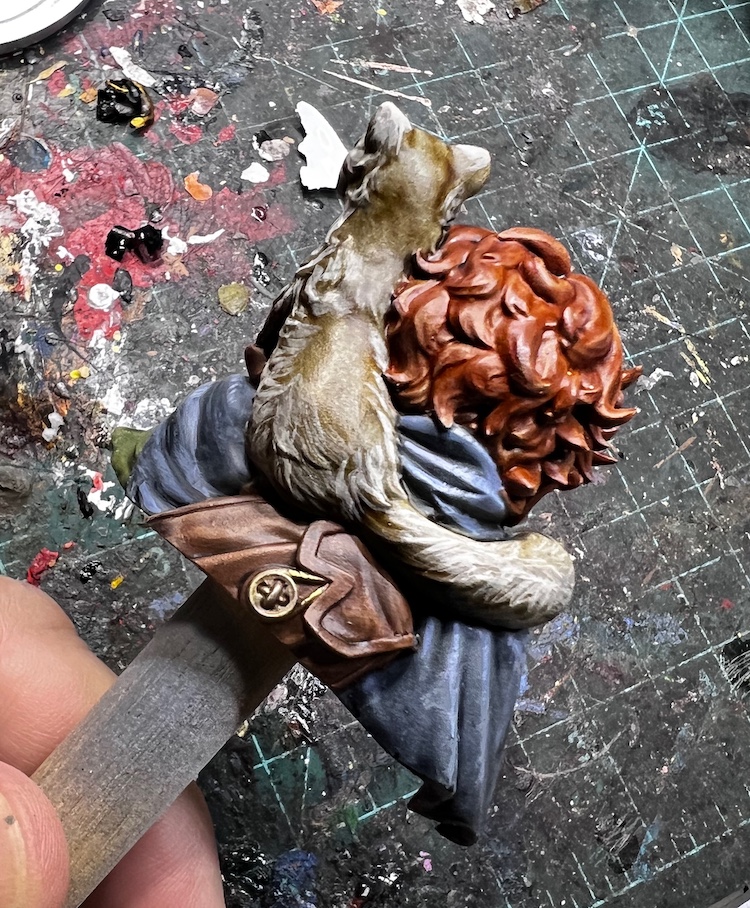
Time to seal this fellow. I know I will go back and do some touch ups but for now he has reached the stage of needing sealant. The next stage is to attach the bottom of the model as well as a post with which to attach him to his plinth. I do like how the ferret has come out and my Non-Metalic Metal is coming along though still not where I want to be.


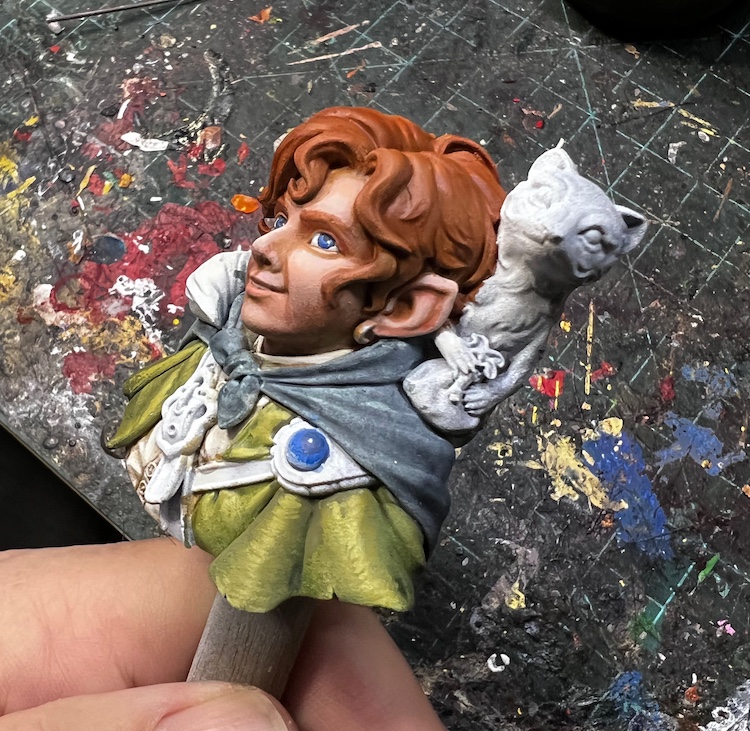
I Continue Work on Details
I have continued to add details and layer thin color. The shadows are starting to read and I like how the ferret is coming out. A lot of tiny bits and things still to do and I only have a couple weeks left. I hope I make it because life has really gotten in the way lately.


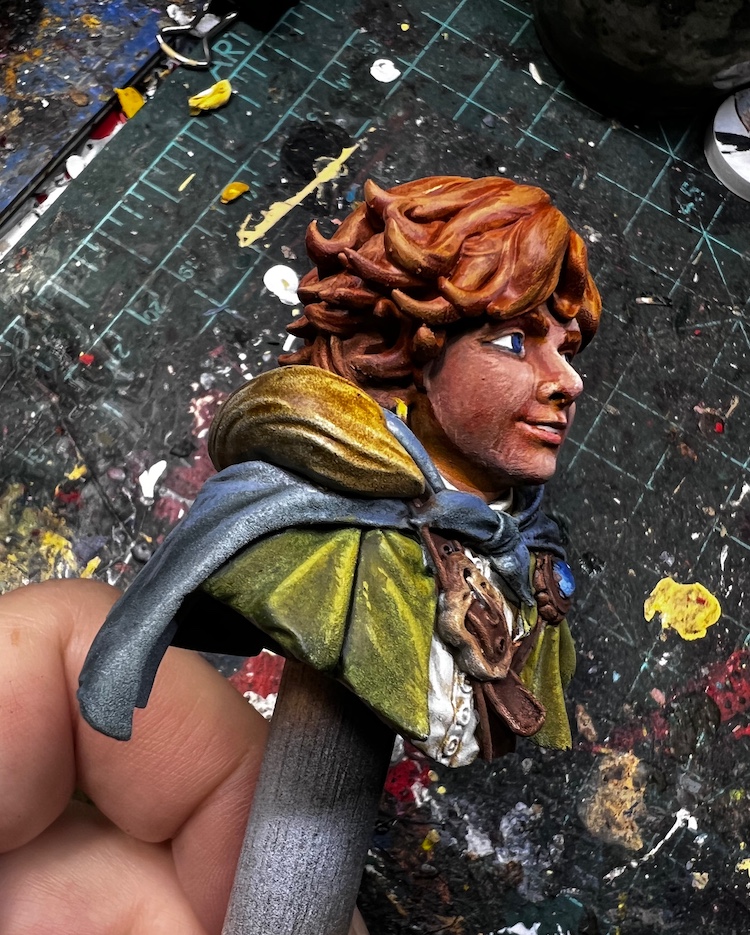
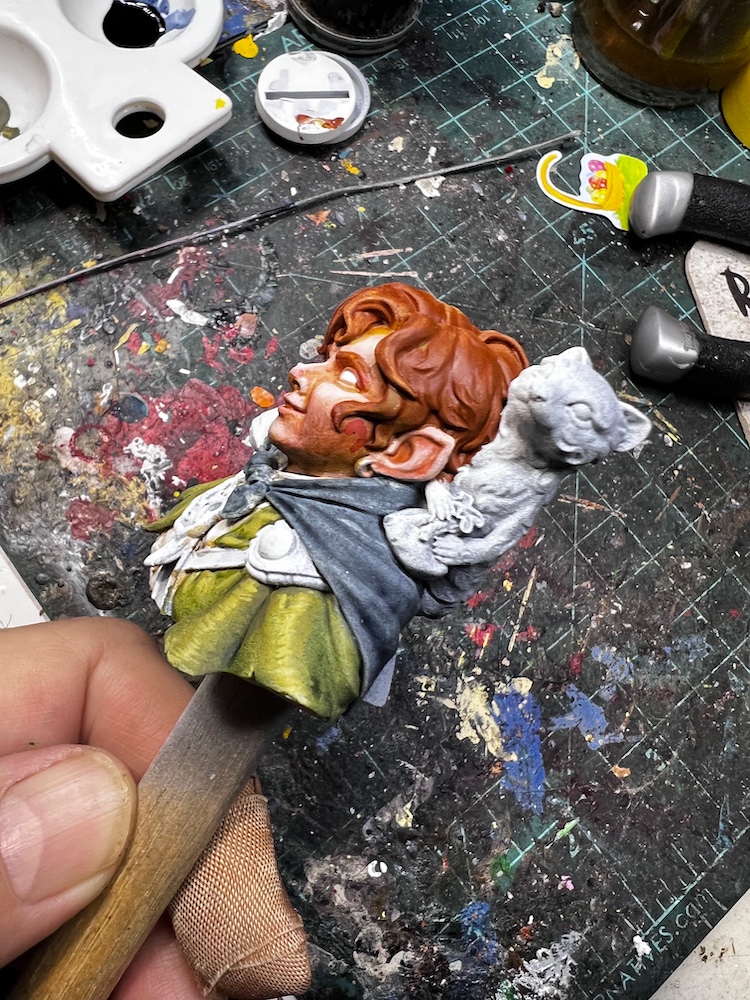
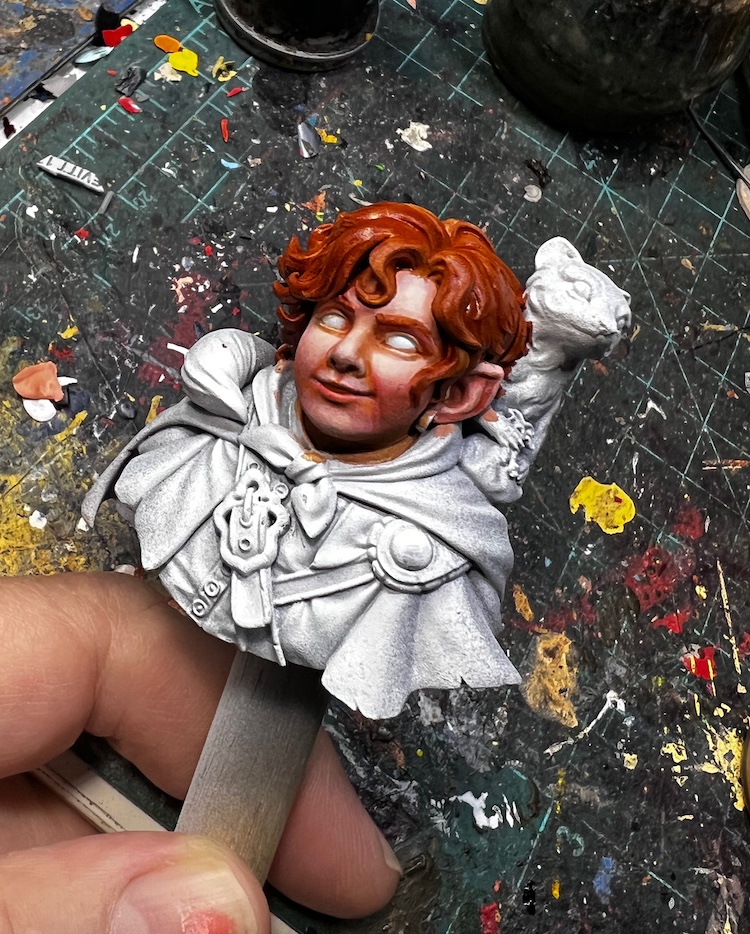
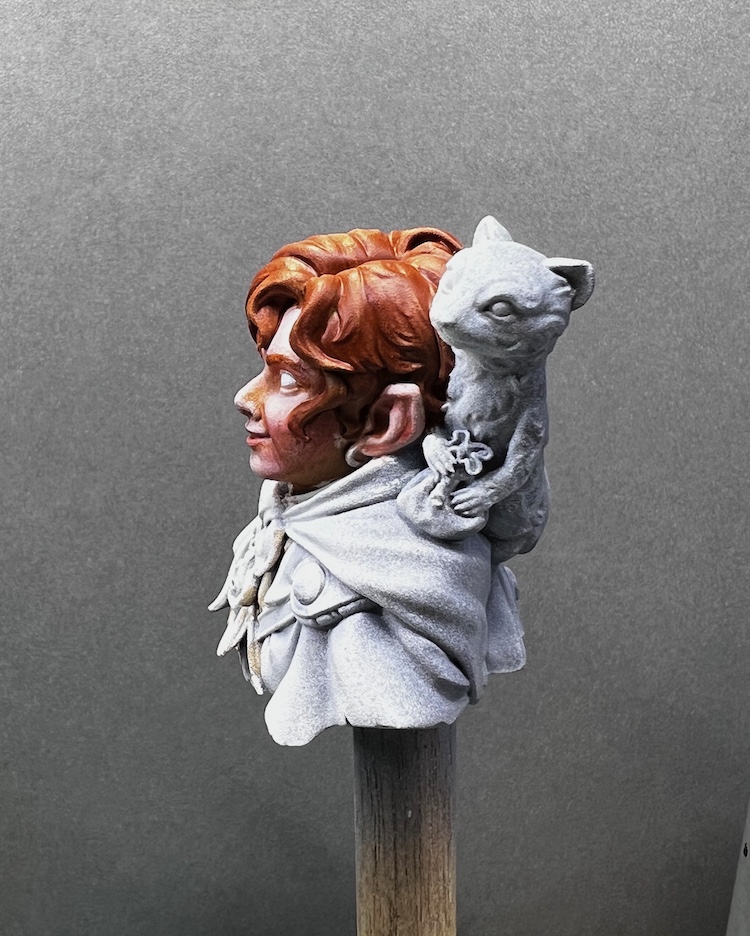
The Details Begin
The shirt received some touch up and I began painting in the fine lines of a grid pattern and started painting the buttons. I’m still working on the cloak and the jacket as well. I don’t think they show a sense of lighting yet. The halfling’s hair is in a similar state. I’ve also begun laying down color on the ferret but there’s still a lot more work left on the furry fellow. Oh, and the buckle got some greenish brown which I hope makes a good dark end of the NMM.


Some Ferret Reference
I’ve got a a base shade on the ferret so I will be building up details soon. It really helps to have reference when dealing with natural animals. Here are a few images I found of Black Footed Ferrets.


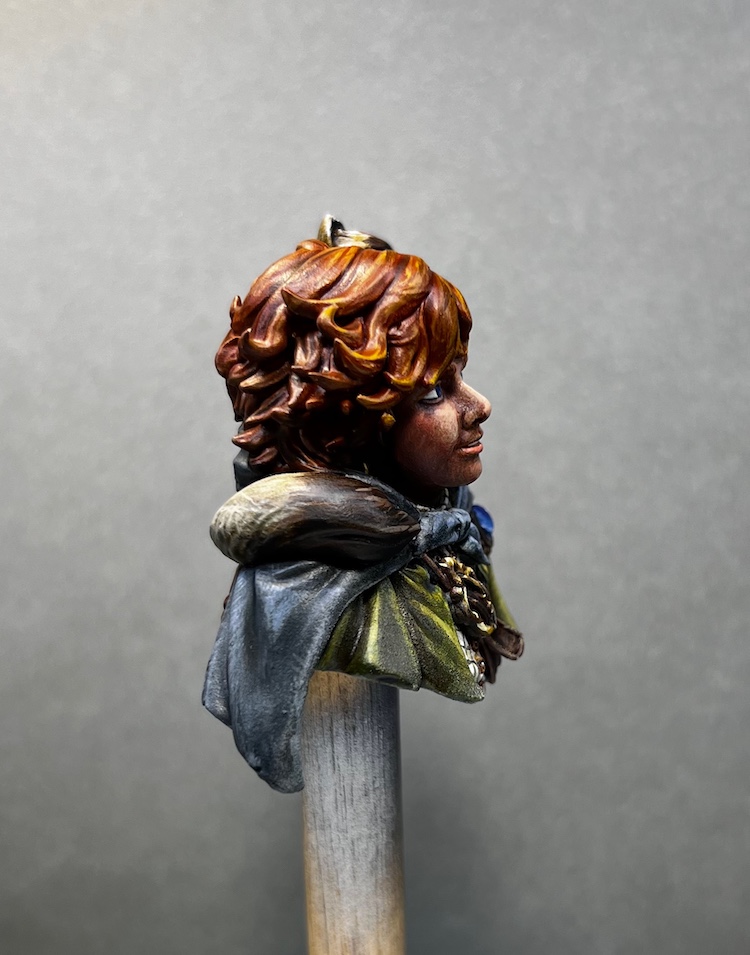
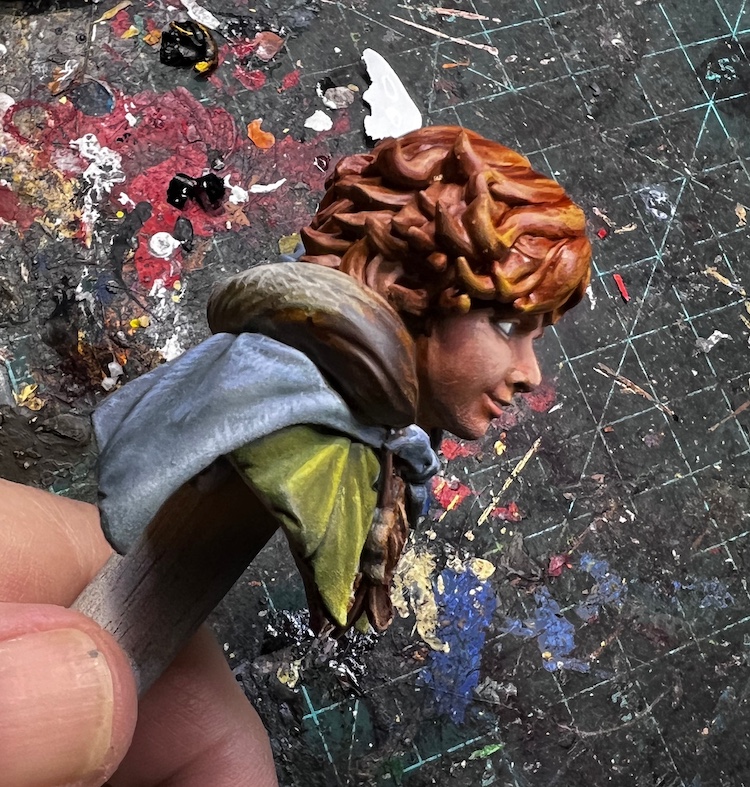
Shadows on the Face Almost There. More Base Coats
I got the NMM on his gold ear rings finished and I’m mostly happy with them. The shadow on the face is reaching a much better color balance. I’ve finished all the base coats at this time so now it is all about the highlights and details now. The ferret has his base color but will be much lighter over all except the legs and face as I am going for a Black Footed Ferret look.


Worked on the Eyes
I did a little more work on the skin but started base coats on some of the clothing and put some time in on the eyes. They are a good start but need a lot more work.


More layers added.
I kept adding thin layers to the skin tones as well as fixing some areas I had messed up as well as more shadows. Also began building up shadows and highlights on the clothing. The white shirt is ready for a pattern and paint on the buttons.


Shadows are Started
I liked how the skin tone was coming out but felt it was looking like a doll so decided to warm things up as well as begin adding the cast shadows. This means some strange globs of color as skin is transparent and full of colors. I also started painting the clothing but it is still just base coats.
 Still has a nice Zombie look without the eyes.

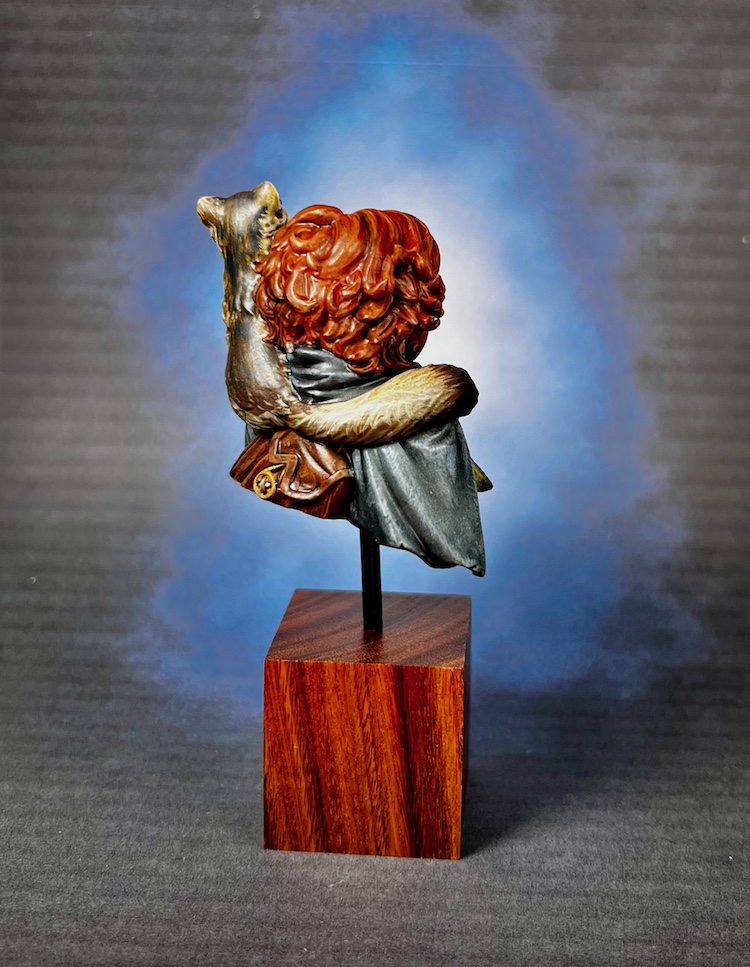
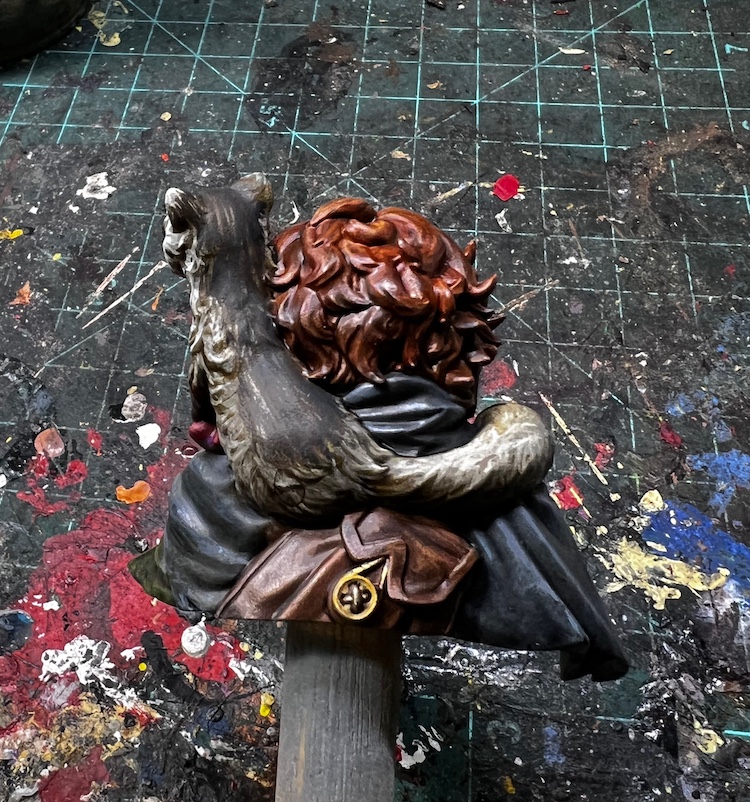
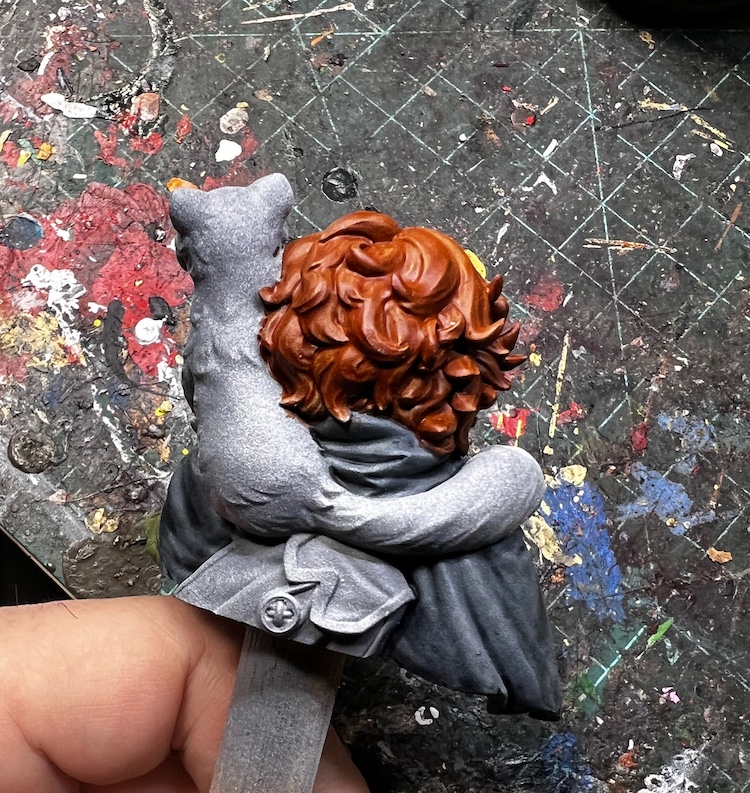
 Not much changed on the back except the base coats on the cloak.
More Work on the Skin Tones
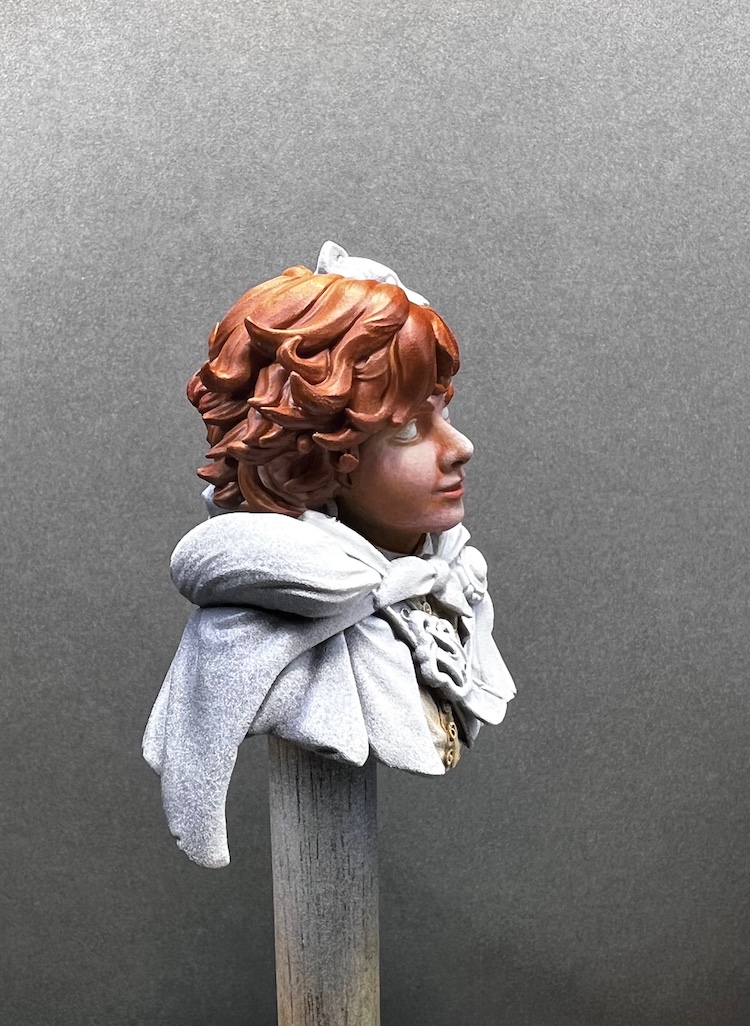
I am finding that a bust is not just the same as painting a 28mm figure only bigger. At this size, because skin is transparent, I am finding subtle blends and glazes are the key tools, much like painting a canvas. At 28mm a couple of flesh tones, a wash, and a highlight and you are done. At this scale it is about subtle color changes and understanding how many different colors, like blue and green, appear in skin. Going to be a whole new world when I get to the freehand detail.
 Working with reds and warm browns right now
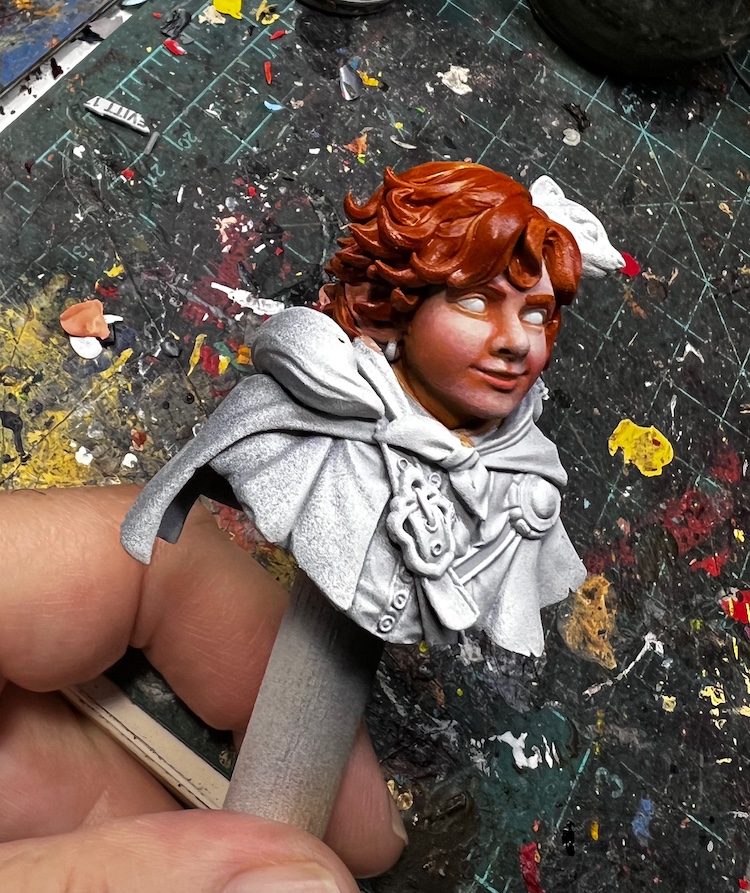 The blank eyes do give a bit of a zombie look.
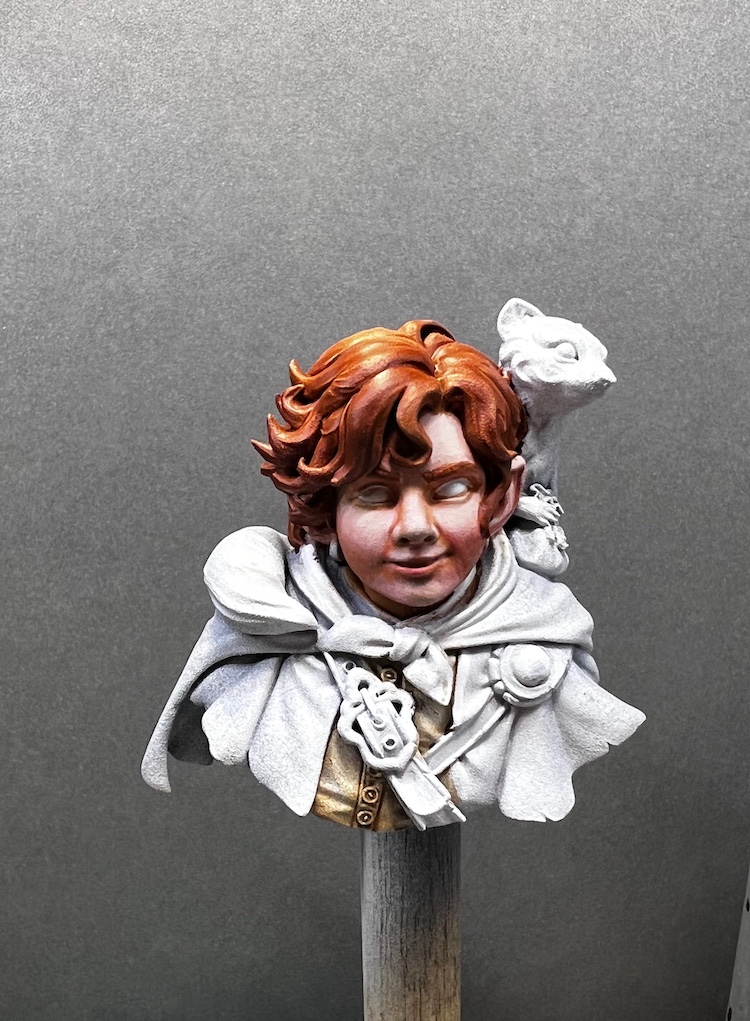

First Skin Tones Applied
 Far from finished but the first skin tones are laid down.
  I am already finding I have to approach this differently than a 25mm mini's face
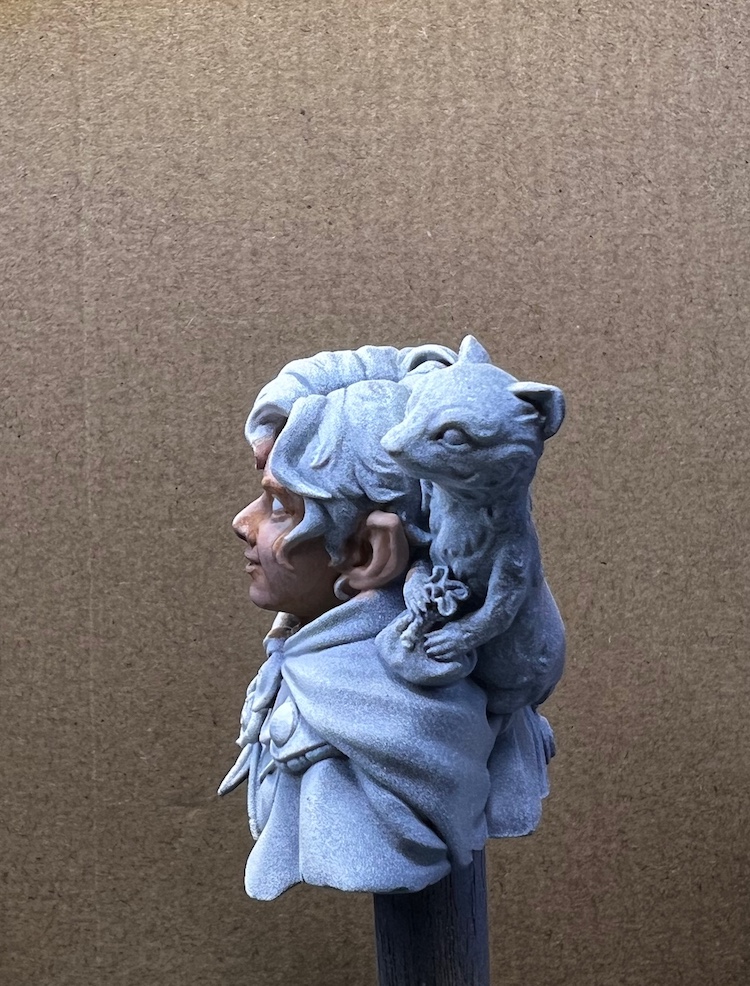 Going to get the face to near completion before I start the hair which is the opposite of my normal working method.
Primer Applied
 Started with a grey base and ended with white from the front.
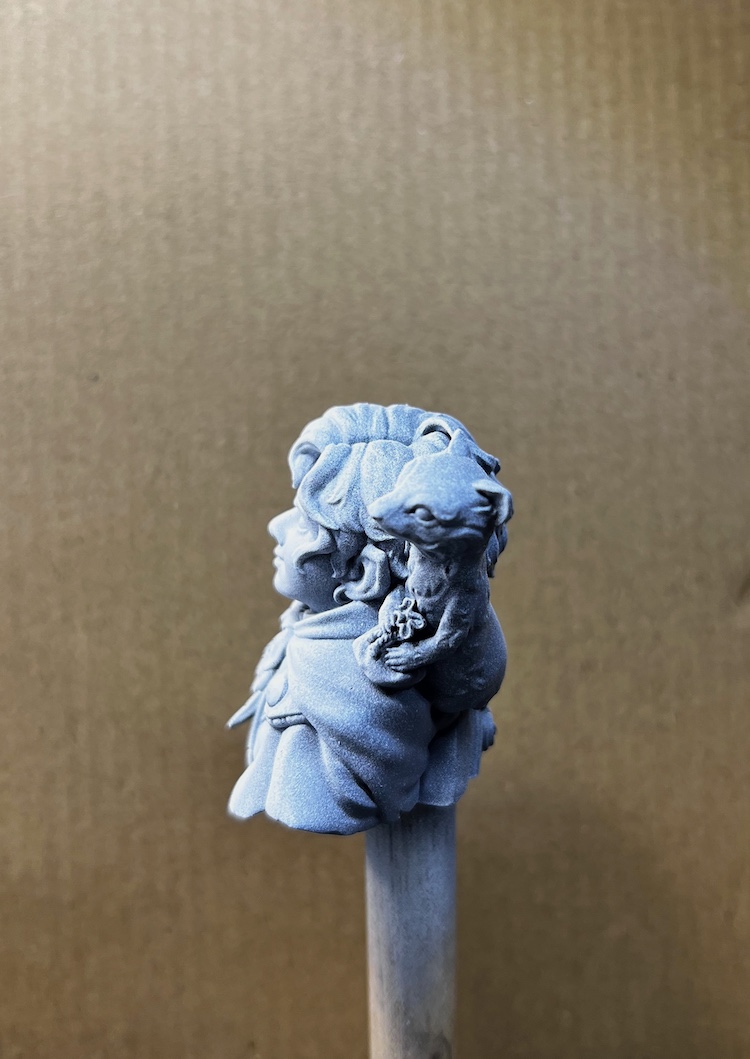

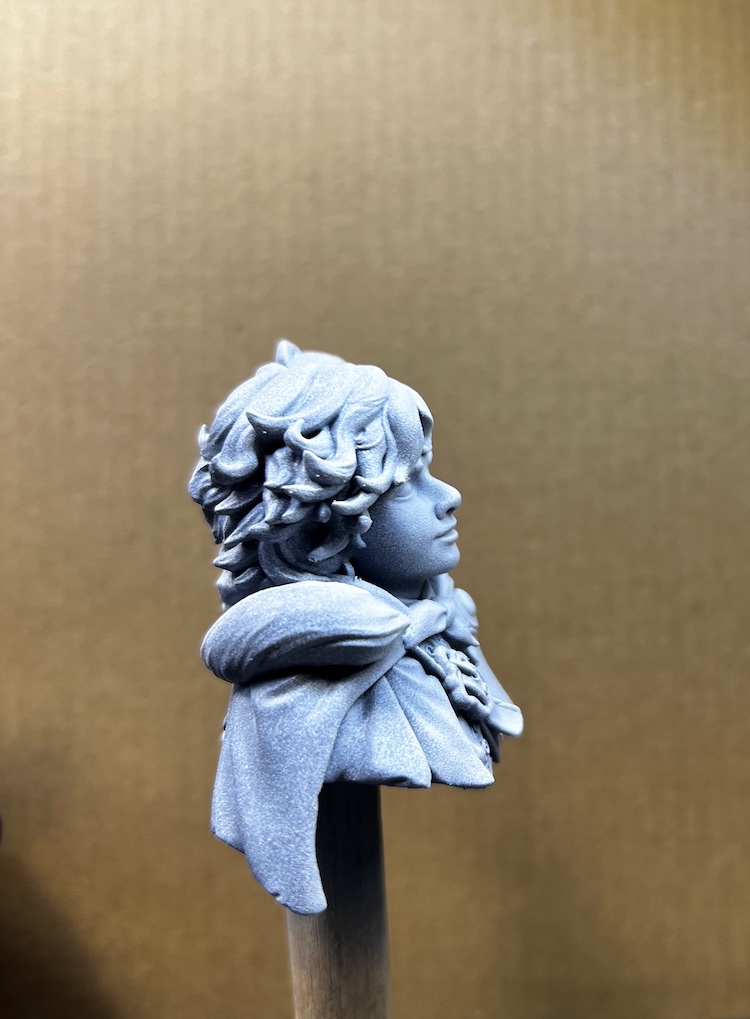 Light dusting of white on the back.
Plinth and Post
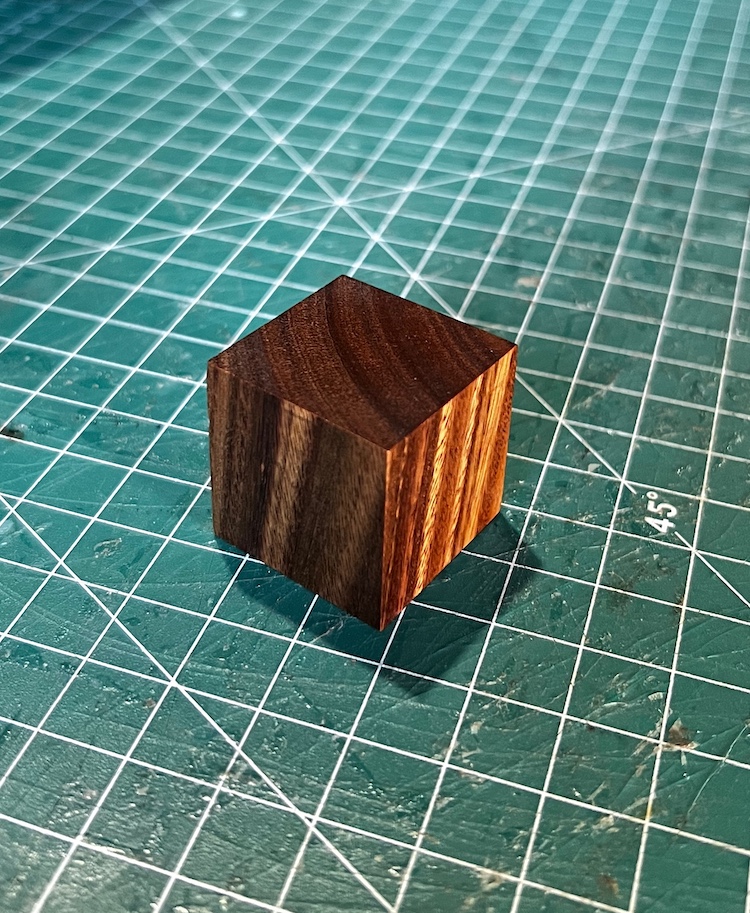
A friend of mine is a carpenter by trade and makes beautiful plinths on the side. The only way I have found to get one is to win it at KublaCon’s post Painting Award raffle which I did last year. I set it on the shelf hoping for inspiration and the bust provided it. The bottom of the figure has a hole for a post so I went through my collection of brass odds and ends to find a long enough rod and a hollow cylinder to add thickness.

Getting Started
As I stated in the project description, I’ve never taken on a figure or bust at this scale. I am torn between being excited at the possibilities oof larger details but also intimidated by the same. It will require different skills and techniques than my regular “Speed Paint” style.
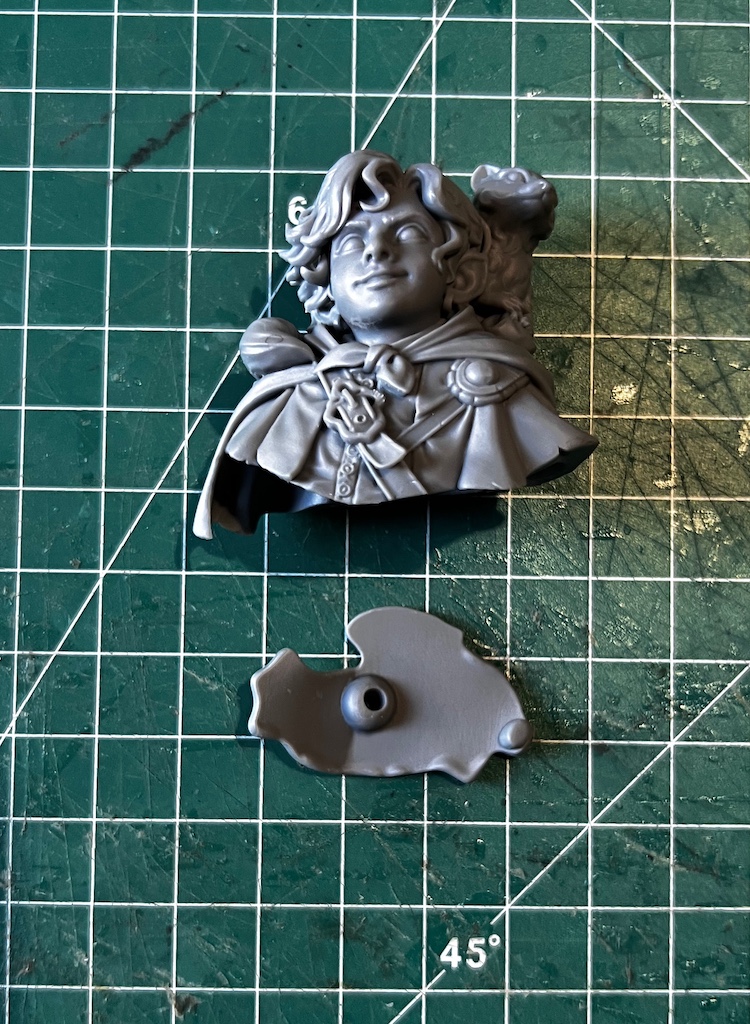 A charming kit and nicley printed. I was able to clear off most of the scaffolding easily enough and even found the little surface bumps to be at a minimum.
 He doesn't come with a base so I had to figure out how to mount him for painting. I decided to make a painting handle out of a dowel and a big round base.
 Leaving the bottom off the figure for now I wedged the post inside. Fits rather firmly for now.
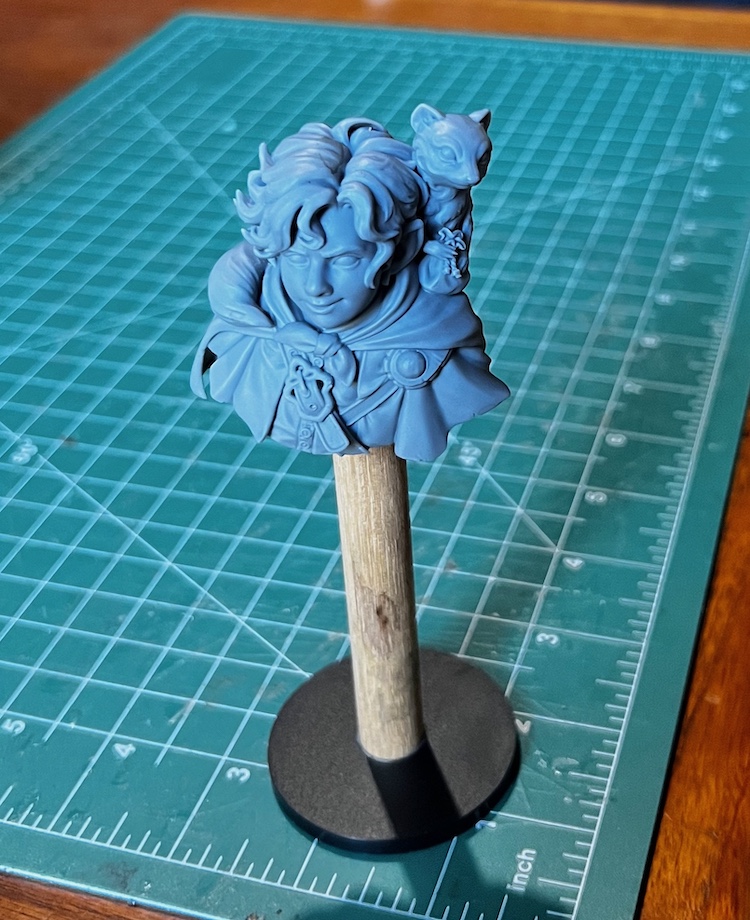 There we go, ready for painting when I get home from work. Now to figure out what the final base will be and how I can attach it.